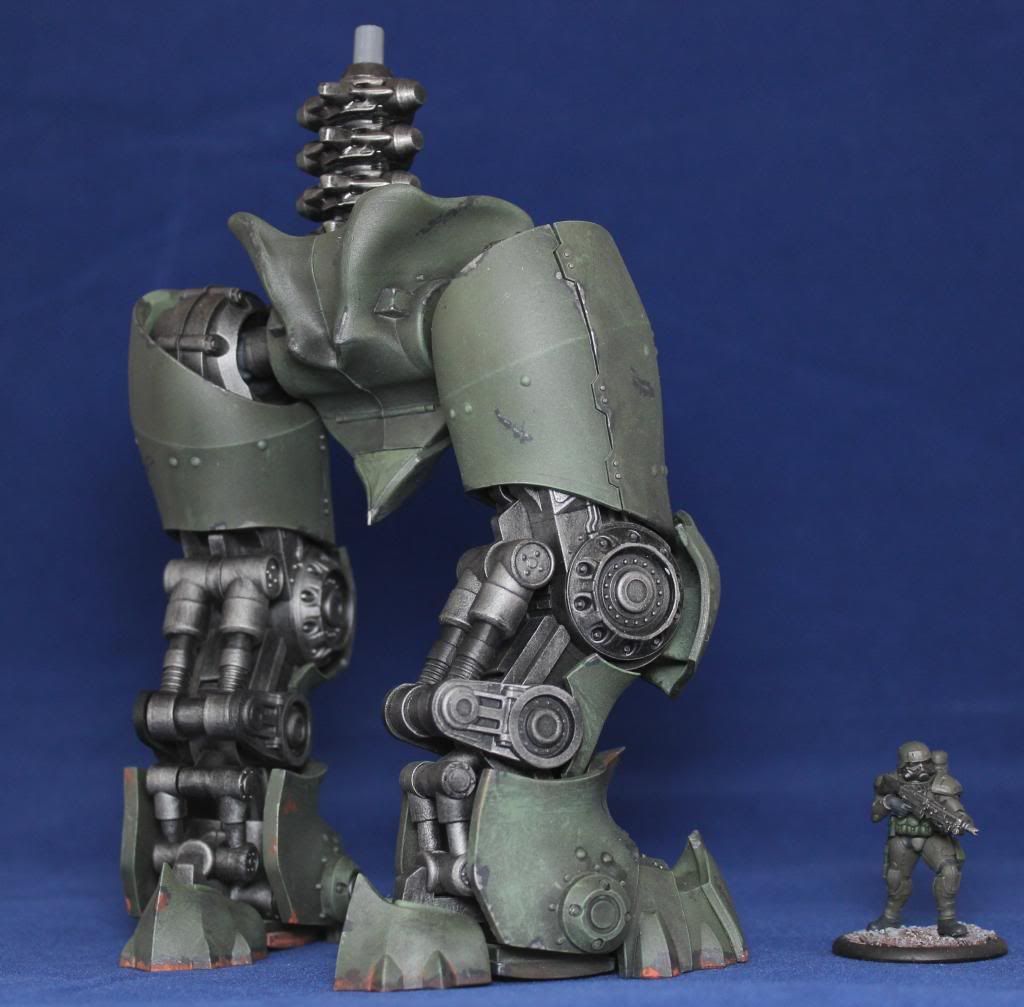
I have had quite a productive week on a couple of projects and have some good
progress shots to share of the Leviathan. I have
managed to get the legs complete and make a good start on the body. I haveve deviated from the instructions a bit and
have split the torso into lower and upper assemblies. This also splits the front pistons into upper
and lower parts, but as they are designed to be free to move, they should be alright. I've done some dry fitting with the chest piece and it will be tricky to mate the pistons but it should be doable.

As far as assembly goes, it was pretty straight forward. This kit continues to amaze me. The fit on the upper leg armor was so good that it doesn't need to be glued.
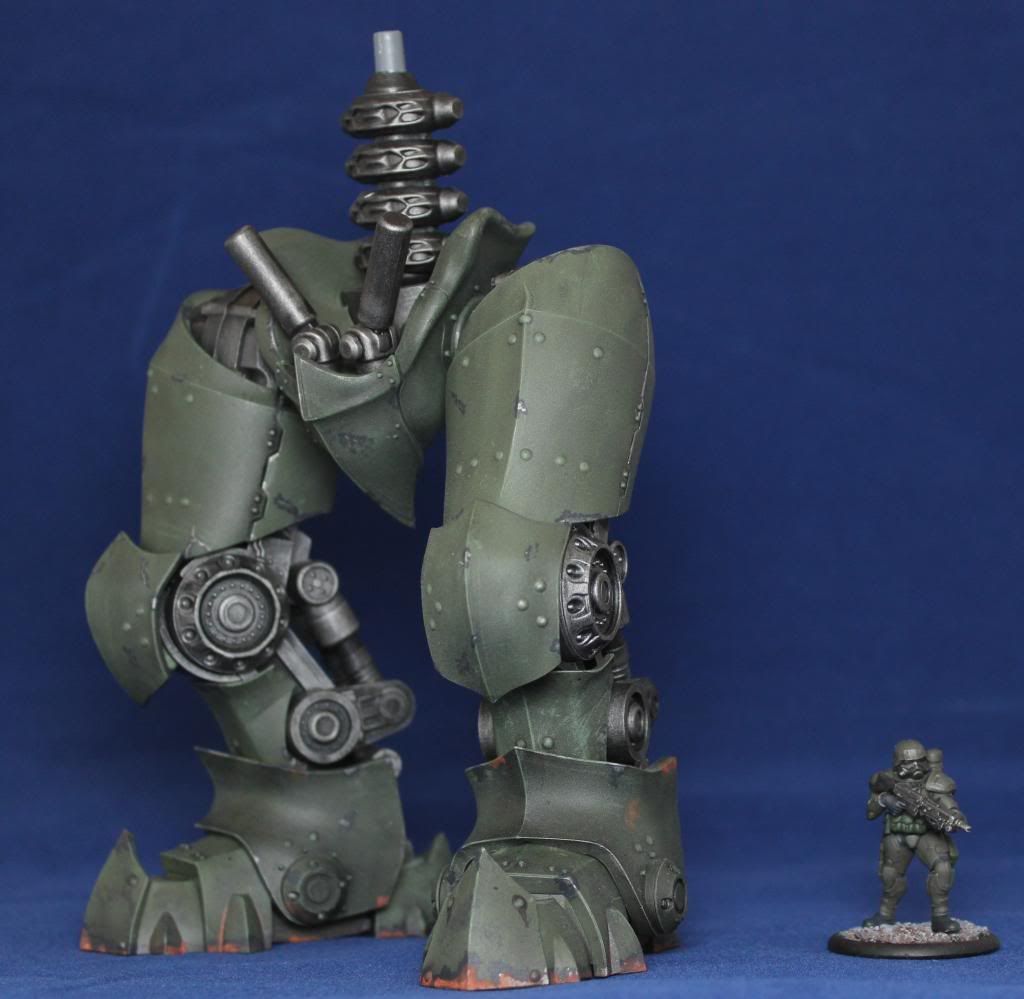
I continued the weathering up the legs, but toned it down somewhat. I think when I get to the chest and higher I'll tone it down even further. I didn't notice it until I started taking pictures, but I missed the back, bottom side of the codpiece with my last wash so it's a little lighter than it should be. I'll get that remedied before I take any more photos.
After this stage, the project might slow down for a while. So far the assembly has been straightforward and I haven't deviated much from the instructions. However as I look at the chest and the arms, I'm seeing a few speed bumps and detours. First, I want to magnetize the extra kits that came with the kickstarter (optional sword and exhaust stacks, so I'll have to work out a plan for those. Second, I want to see if I can make the face part hinged so that I can open it up and detail a pilot and cockpit. I'm not sure it's feasible but I want to give it a try. If that doesn't work out I can just throw an LED light in there as I have seen other modelers attempt. Last, looking at the gun arm assembly it seems like it will be a bitch. The center barrel assembly rotates, but it will have to be sandwiched in the main housing halves. I see a number of long seams that will have to be filled and sanded while avoiding damage to the barrel.
What you've done so far is really nice, though a pair of legs and hips look a bit odd on their own!
ReplyDeleteThanks!
Delete